
reviving for a camper renovation :)
So it's been 7 years... What's a few years? A couple of kids. College (for me - and a few kids). Even a couple son in laws now. And a grandbaby on the way.
The reason for blogging again? To keep track, and to help any other poor fools that attempt the same thing, of some major camper renovations.
I bought this camper about 4 years ago (2012). Chrissy had just completed a year at Bob Jones in SC, and was coming home for good. I told her she either needed to share a room with her sisters, or I'd look for a cheap camper she could live in until she could afford a place of her own. She chose camper. Just a couple of days later, I found this one down the road for $700. Everything worked. Painted the walls and the cabinets so it wasn't like walking back into the 80s, and she was Chrissy's new home (I did that 7 months pregnant with baby number 9!).
She's a 1989 hi-lo classic. Chrissy "lived" in her for a little more than 3 years. Finally moved out when she got married in Nov of 2015. I didn't actually take her camping until the summer of this year. She's taken 2 trips, and now it's time for some major repairs. Kivett (16 years old now!) will be helping me with a lot of the work.

4 years of sitting in the yard has left it's mark. She had some water damage when I bought her, and the previous owner had fixed that roof leak. Now there are more. Some tiny (and others not so tiny) holes in the side of the aluminum roof.


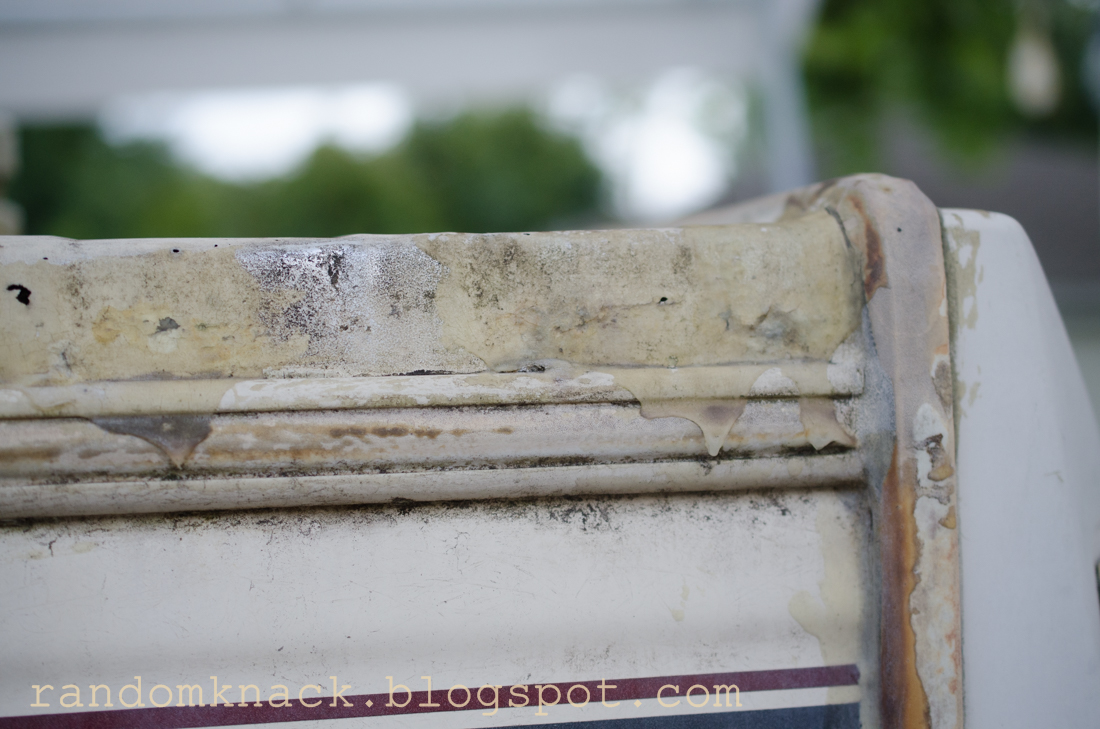


Once we get all the old caulk off from the previous repair, the whole top will be cleaned as well (it will be nice shiny aluminum!!) and then it will have roof sealer put on top.

Once the roof is done, we have to seperate the two halves to rip out all the rotted wood. There are beams that run along the bottom edges, and 2 of them are completly rotted. All four sides will be replaced just to have it all done. This piece of aluminum is supposed to have a beam inside of it, and its bent down from it's original position because it caught on the side when the top was last raised. The orange and black stuff is the last owner's attempt at fixing the rubber seal that keeps dirt and bugs from coming in the space between the top and bototm. It's going to be a LOT of work. I'll try to have video and pictures of all the repairs, with as many details as I can. It was really hard to find good instruction on how to do what I'm doing, and I figured if someone else was as crazy as I am, they'd appreciate the step by steps if they happened along this blog.


Comments